Turkey shoot weekend build – part 5

Obviously this is taking longer than a weekend, but I’ll still try to finish it as fast as possible. No point in hurrying too much though.
I had some problems with this. I know it needs weight in the front, and I’ve added quite a lot, but I noticed some of the white glue had ended up in the cockpit. I removed quite a bit, but some was hard to reach without destroying the control stick and perhaps other details.

The second problem is the propeller blades. For some reason Trumpeter have positioned them in what looks like a feathered position. Need to change that.

Propeller blade in wrong angle.

The last problem (for now) is the canopies, that have a mold line across the top.

Canopies with visible mold line.

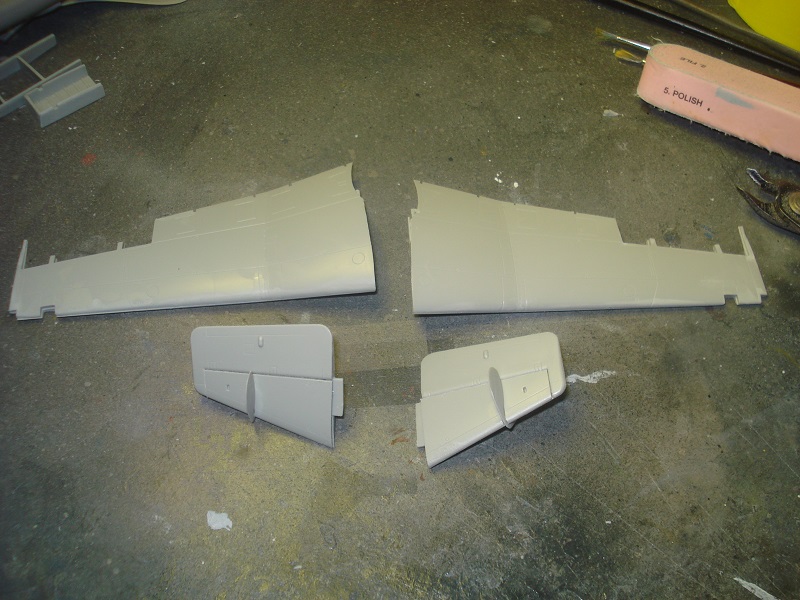
After som sanding and polishing it looked like this!

Polished canopies.
Polished canopies.

I hope this is enough and that dipping them in Pledge will improve the looks.

If all goes well, I’ll be masking them and putting the in place. Three of the parts are very alike, so I hope I’ll get them right.

Turkey shoot weekend build – part 4

By experience I know this bird needs weight in the nose in order to not sit on its tail. I used air rifle bullets and white glue.

Weights in the nose.

I also tilted the plane and filled the area behind the front wheel well with glue and bullets, so the plane have to stand this way until it has dried.

Plane left to dry.
Plane left to dry.

Then I turned my attention to the flaps that had ejector pin marks that needed to be taken care of. I also cleaned up the landing gears.

Landing gear and flaps.

Next I’ll sand down the putty, and paint the gears. Once the white glue has dried, I’ll glue the nose, add canopies and start priming the plane.
Mainly to see if there are flaws that needs to be taken care of. I might need to re-scribe some panel lines.

Turkey shoot weekend build – part 3

Joining the fuselage was a tad bit fiddly, but ended ut quite nice when done. Having to assemble the arrestor hook at this point is to ask for it to break, which it did eventually.
I did put a thin layer of putty along the seams.

Fuselage and wings ready for assembly.

After sanding down and polishing the seam, it looked quite ok. I’ll see how it looks once I get some primer on.
The fit of the wings was almost perfect, and maybe it was my fault they didn’t perfectly. Anyway a tiny amount of putty and sanding will solve that.

Starting to look like a plane.
Starting to look like a plane!

A few more things to adjust to and perhaps some panel lines to re-scribe.

Nose and landing gear will be next. The arrestor hook have to be glued last more or less.

Turkey shoot weekend build – part 2

This is supposed to be a quick weekend build, but I haven’t haad as much time as I would have hoped. Yesterday we had problems with our electricity, and could call and get help earlier today (saturday).

Anyway, I started cutting and cleaning up the parts for the cockpit. I also started to do some assembly of parts that I thought should be painted in the same colour.

The cockpit parts, partly assembled

As the inside of the fuselage also needed the same colour as the cockpit, I prepared those parts for paint too, including the parts for the fuselage assembly.

Fuselage parts.
Fuselage parts.

I also assembled the wings and stabilizers. Waiting with the slats and ailerons until later, as it might be easier to paint them separately, and I haven’t decided how they should be positioned yet.

Wings and stabilizers.

According to the instructions parts of the cockpit should be gray, but after checking pics on the real plane, it turned out most of the cockpit is black, which in a way makes things a bit easier. So on with some black paint.

Cockpit parts painted black.

A while later I started assembling the cockpit. I also did some dry brushing. and painted some details as the rudder pedals.

Cockpit assembled and dry brushed.

Last parts to go was the instrument panels.

Cockpit done.
Cockpit done.

Detail on the panels wasn’t easy to pick out and dry brush. I think I would have prefered decals, since this is 72nd scale anyway.

Unsure if I need to paint the outside of the side panels. I guess they will not show. I’ll do a dry fit to see how it looks. If it’s ok I’ll glue the cockpit and other parts and join the fuselage halves.