This is one of the objects I’ve tried my new airbrush on. I think it went fairly well, and this is how the gun looks.

Now I only need to assemble it, and do some dirtying down.

and other artistic stuff
This is one of the objects I’ve tried my new airbrush on. I think it went fairly well, and this is how the gun looks.
Now I only need to assemble it, and do some dirtying down.
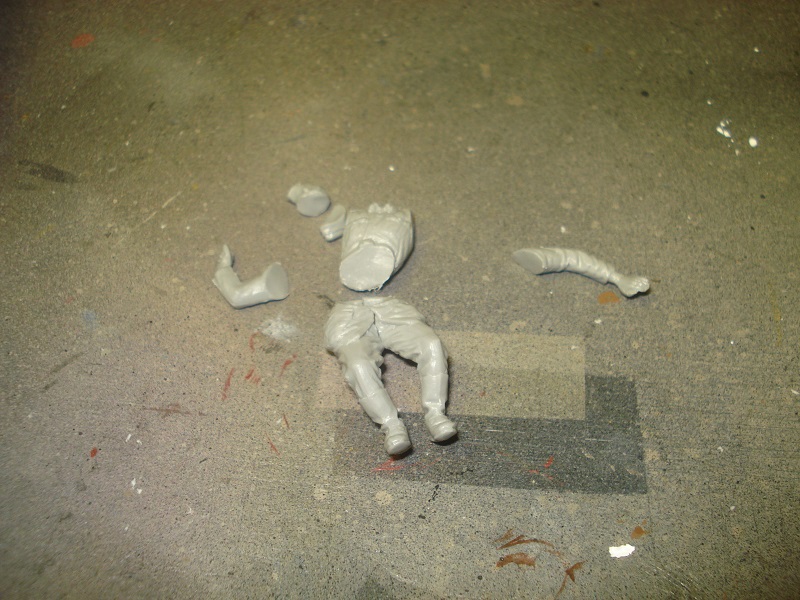
The figure I got was supposed to have one hand on the wheel and one on a open door and leaning out a bit as if looking for someone. No doors on this vehicle, and the other arm didn’t quite fit with the position of the steering wheel. Instead of discarding the figure, I decided to make some surgery, and also move the left arm upwards a bit.
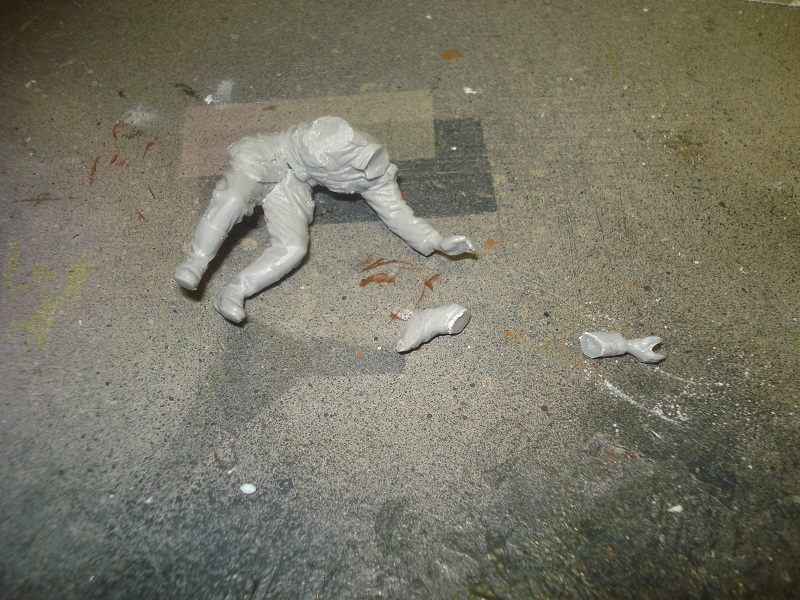
Now I need to try and fit the arm with the wheel and figure in place.
The decal for the rear plate is in place.
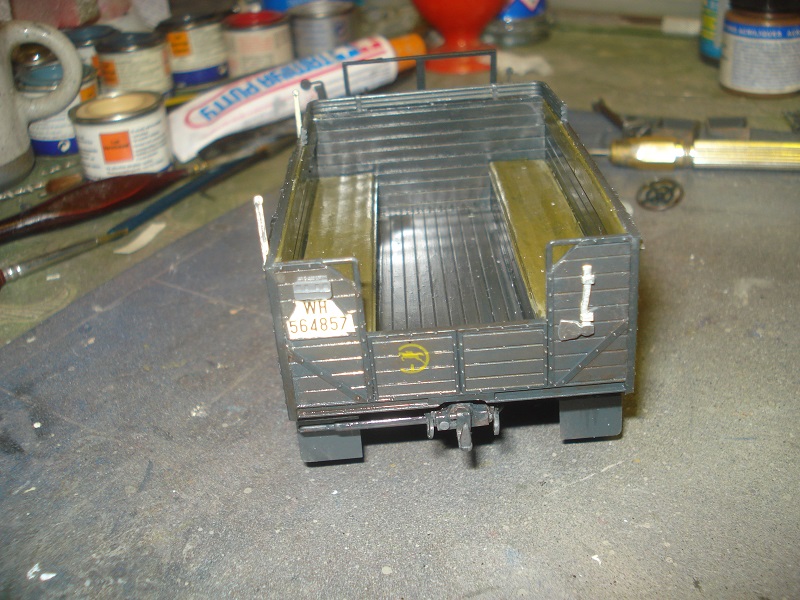
It’s easy to see that the decal wasn’t meant for that plate, but it was the only one I got. Once dry I’ll cut it to fit the plate. Then I probably will add some dirt to the plate and the rear end to cover up at least parts of the plate, making the error less visible.
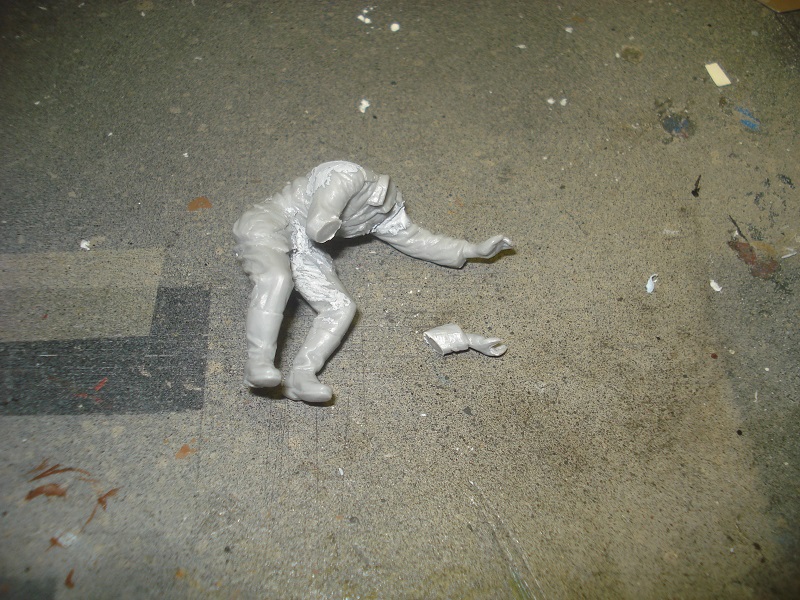
I’ve assembled the main body and arms on the figure, and in order to seat him, I had to cut of the steering wheel. It’s pretty clear that the driver is made for an entirely different vehicle, and I’m not sure I can make him fit unless I do some surgery.

He’s leaning quite a bit, maybe he’s adjusting the rear mirror or something. Not sure what to do yet!
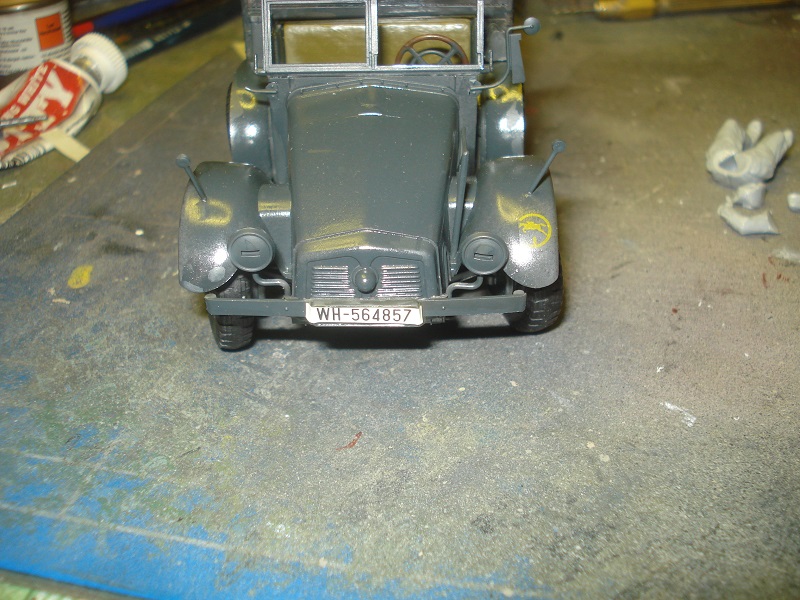
As I’m having trouble with my airbrush, I can’t continue with the gun (for now). Instead I decided to put on the decals. Not many decals to apply, but as I discovered when I was putting on the decals for the front plate, they wasn’t for this vehicle. I decided to use what I can, and have to cut some to fit.

I had to paint the rear plate and will cut the decal so it fits later.
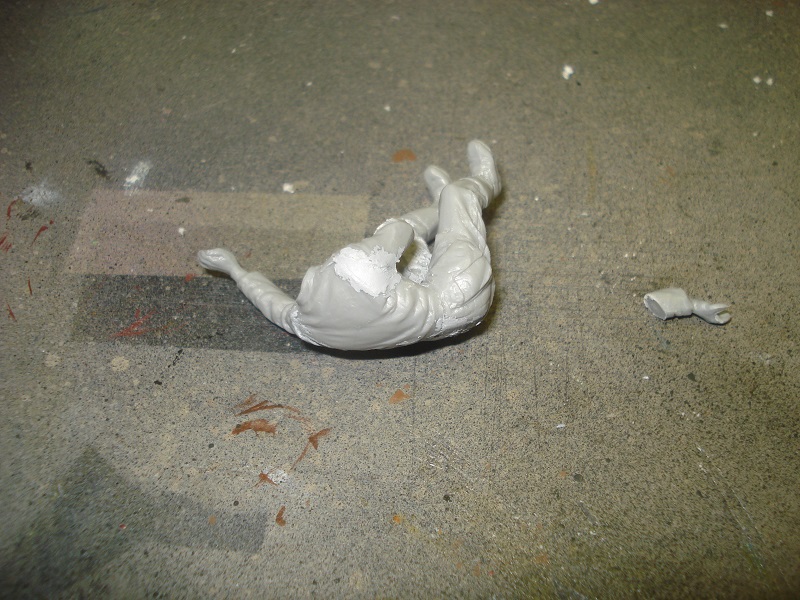
The driver figure to the kit was gone, but a friend sent my one. Very greatful for that!

Cleaning up and assembly started. I hope I can make him fit behind the wheel.
The whole vehicle got a clear cote in preparation for decals.

Then the wheels was mounted. A bit fiddly, escpecially in the front as the wheels a pushed on to the cap inside the hub.

Then stuff like head lights and rear mirrors was glued in place. I accidently broke one part and have to glue it later. I think I call the equipment done. I still have to paint some tools.

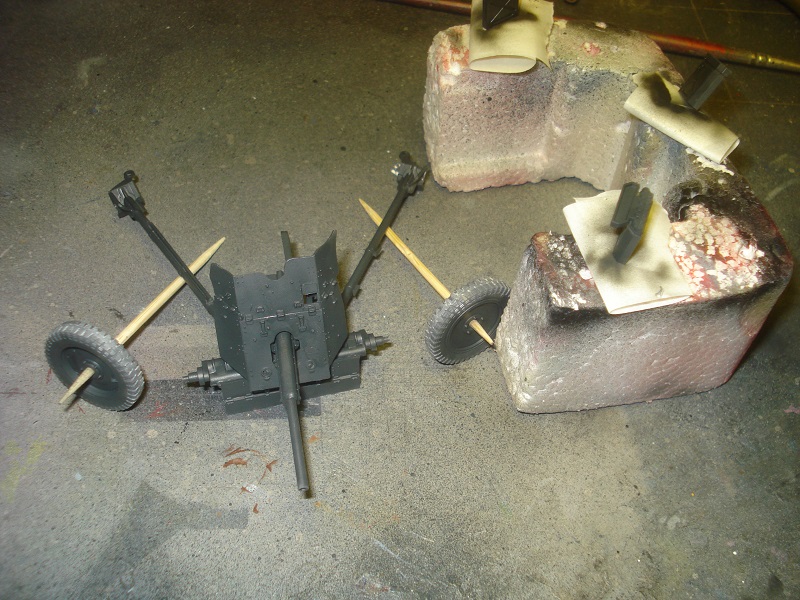
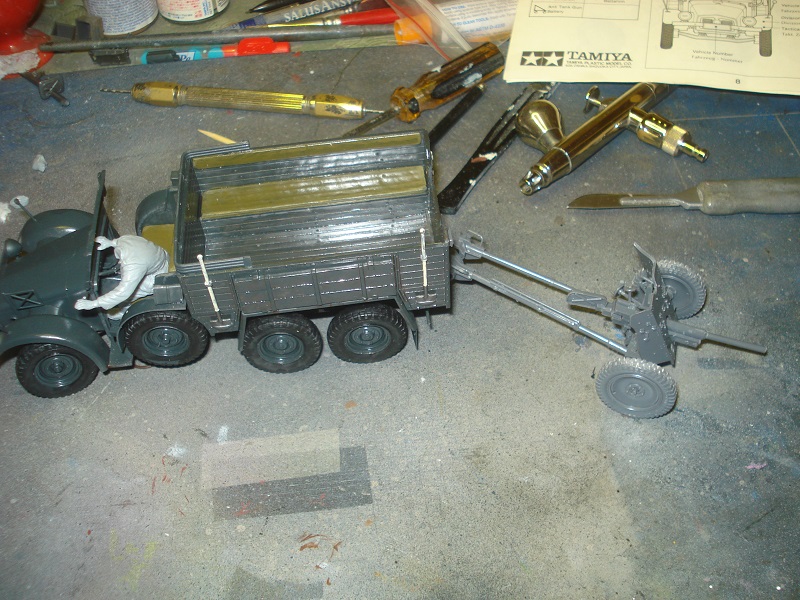
I also got a PAK35/36 gun that I plan to hook on the rear hook.

No figures included and as it is going to hang on the rear of the vehicle none are needed.
I’ve started cleaning up parts and doing some assembly.

I think it will be done pretty fast. Just need to assemble some more and then start painting, before final assembly.
Long overdue update. I’ve got my set of much needed interior colors for US aircraft. It helps a lot to have ready accessable colours to paint with.

The Krupp Protze build have progressed a bit. I’ve repainted the exhaust pipes and mufflers, and added some rust colour. I’ll do more with weathering later.
The tires are almost done and I’ve glued the flatbed on the chassis. All that is missing is the tires, front glass and some equipment. Then on to decals and weathering.

Time to finish painting some equipment and other small stuff.
When I was about to put the flatbed in place, I realised that I’ve put the towbar and hooks upside down. Using ethyl acetate and minor violenced, I managed to pry the parts away. And after some cleaning up I could put the parts back as they should.

I’ve also sorted a few of the things that is supposed to lay in the flatbed compartment. But first they need some paint.

The MG and rifle was missing, and I’m guessing the former owner of the kit have taken them along with the driver, who also is missing.
Perhaps I can find a rifle and a MG that I can use, from my spares box.
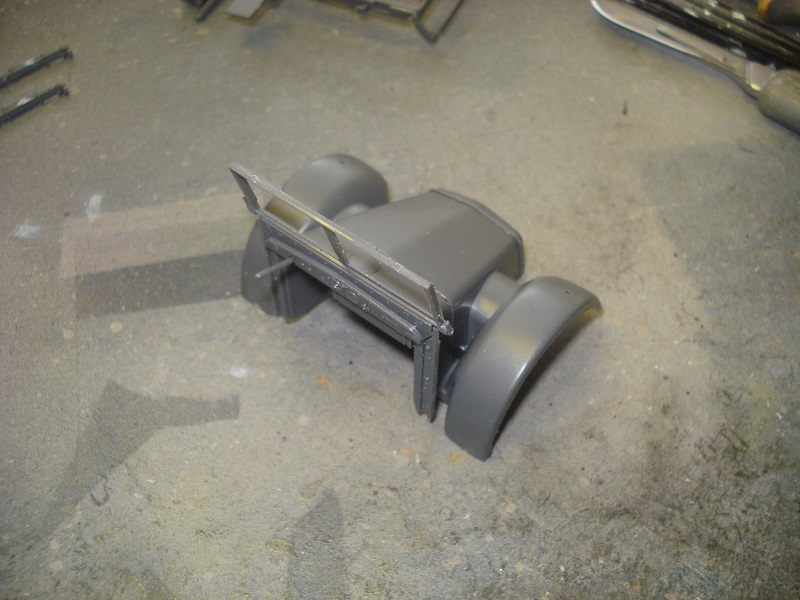
The frame is done and ready for the other parts like hood, cabin and flatbed.

The exhaust pipe looks a tad bit red. Something I need to adjust with some weathering later.
The flatbed was first painted dark grey and then I added some thinned dark brown in an attempt to make it look like worn wooden planks.

I will do some dry brushing with different shades of grey and the seats will be painted in khaki.
I started assembling the rear compartment/flatbed, which was quite straightforward. A few pieces left to glue when the pic was taken.

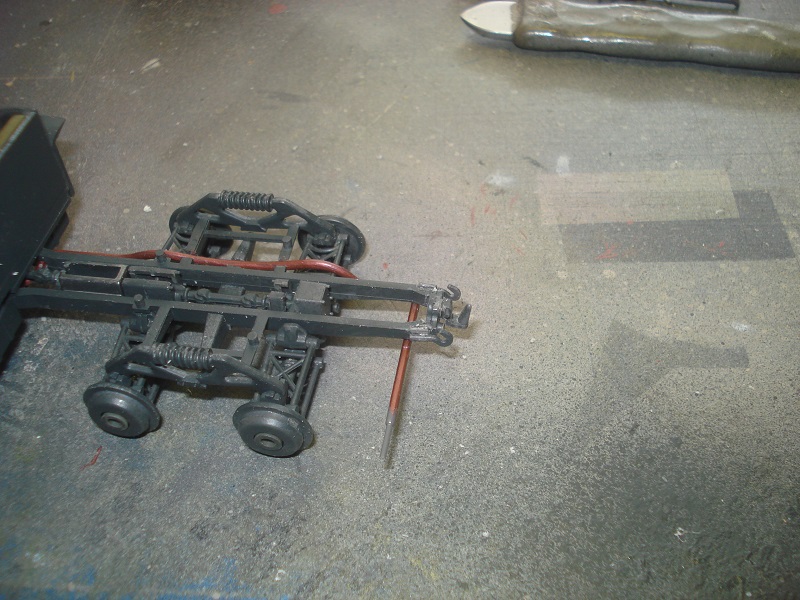
Exhaust pipes and front wheel suspension was assembled.

From the start I intended to build as much as possible before painting, but I realised I had to paint some parts in different colors to be able to assemble it without having to try and paint details where it’s hard to reach. So on with some dark grey.

Next I’ll paint some more, and hopefully also start assembling.
I bought this kit 2nd hand at a build meet a few months ago. My intention was to start building it there, but I didn’t get very far. With the Virago underway and waiting for the wings to set, I decided to do something on this kit.
First some pics on the box and the contents.


Included in the kit was one PAK 35/36 gun and one conversion set. I haven’t decided if I’m gonna use the conversion set yet.
I started building the frame and engine. I’ll assemble as much as I can before painting. The interior and front was also assembled and the bottom and sides for the flatbed was prepared with some putty. Have to sand that later.


Next I’ll continue assembling the frame, boogies, and flatbed.